Boost Your Sound Quality with Expert Mixing and Mastering: Advanced Audio Mixing Techniques

You’ve got the beats, the lyrics, and the vibe. But is your sound truly punching through? That’s where expert mixing and mastering come in. These are the secret weapons that turn raw tracks into polished hits. I’m here to break down how you can boost your sound quality with advanced audio mixing techniques and take your music to the next level.
Why Advanced Audio Mixing Techniques Matter
Mixing is the art of balancing every element in your track. It’s about making sure the vocals shine, the bass hits hard, and the highs sparkle without harshness. Advanced audio mixing techniques help you sculpt your sound with precision.
Think of it like cooking. You don’t just throw ingredients in a pot. You season, taste, adjust, and perfect. Mixing is the same. It’s about:
Balancing levels so nothing gets lost or overpowers.
EQing to carve out space for each instrument.
Compression to control dynamics and add punch.
Panning to create a wide, immersive stereo image.
Adding effects like reverb and delay to add depth and vibe.
Mastering is the final polish. It makes your track loud, clear, and consistent across all playback systems. Without it, your song might sound great on your headphones but weak on a club system or radio.
Key Advanced Audio Mixing Techniques You Need to Know
Let’s dive into some game-changing techniques that will transform your mixes:
1. Parallel Compression
This technique lets you keep the natural dynamics of your track while adding power. You duplicate a track, compress the duplicate heavily, then blend it back with the original. The result? A fuller, punchier sound without losing the original feel.
2. Mid-Side EQ
Mid-Side EQ lets you treat the center and sides of your stereo image separately. You can boost the vocals and bass in the center while widening the guitars and synths on the sides. This creates a spacious, professional mix that feels alive.
3. Automation
Don’t keep your mix static. Use automation to adjust volume, panning, and effects throughout the track. This keeps the listener engaged and highlights key moments like choruses or drops.
4. Frequency Slotting
Each instrument occupies a frequency range. Use EQ to carve out “slots” for each element so they don’t clash. For example, cut some low mids on guitars to make room for vocals. This clarity is what separates amateur mixes from pro ones.
5. Using Reference Tracks
Always compare your mix to a professional track in the same genre. This helps you match loudness, tone, and balance. It’s like having a benchmark to aim for.

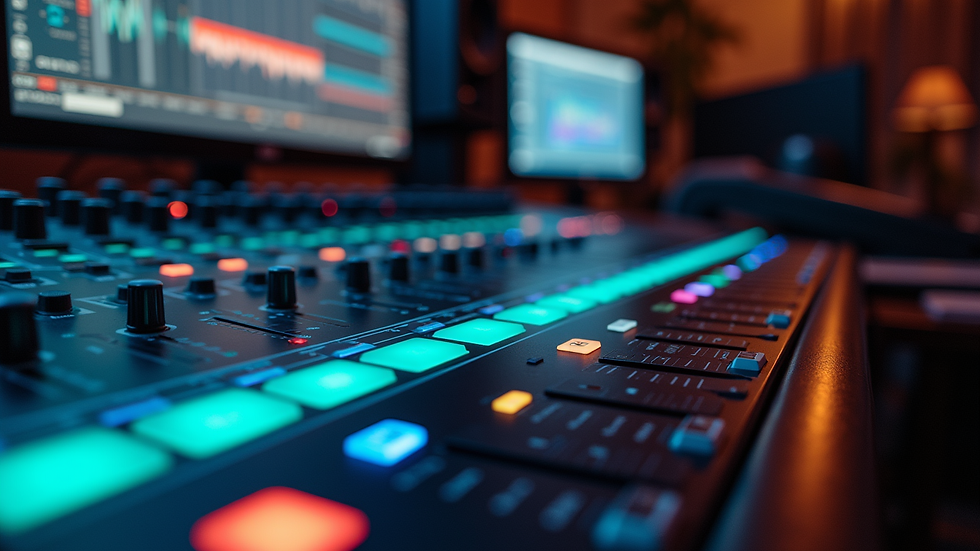
Close-up view of mixing console with knobs and sliders
The Power of Mastering: Finalizing Your Sound
Mastering is the last step before your music hits the world. It’s where your track gets that commercial loudness and clarity. Here’s what mastering does:
Loudness maximization without distortion.
EQ adjustments to fix any frequency imbalances.
Stereo enhancement to widen the soundstage.
Limiting to prevent clipping.
Sequencing and spacing for albums or EPs.
Mastering ensures your track sounds great on everything - from earbuds to car stereos to club systems. It’s the difference between a demo and a radio-ready single.
How to Choose the Right Mixing and Mastering Approach
Not every track needs the same treatment. Here’s how to decide:
Genre matters: Hip-hop needs heavy bass and punch. Pop demands clear vocals and bright highs. Rock requires aggressive guitars and tight drums.
Track complexity: More layers mean more careful mixing.
Your vision: Do you want a raw, live feel or a polished, radio-ready sound?
If you’re serious about your music, consider investing in professional mixing and mastering services. They bring experience, fresh ears, and top gear to your project.
Eye-level view of a digital audio workstation screen with mixing software
DIY Tips to Improve Your Mixing and Mastering Skills
You don’t have to be a pro engineer to get better results. Here are some quick tips:
Use quality headphones or monitors: Your ears are your most important tool.
Take breaks: Your ears get tired. Step away every 30-40 minutes.
Mix in mono sometimes: This helps catch phase issues and balance problems.
Keep your mix simple: Don’t overdo effects or layers.
Learn your tools: Spend time mastering your DAW and plugins.
Trust your ears, not just meters: Visual tools help, but your ears decide.
Elevate Your Music with Expert Mixing and Mastering
Your music deserves to sound its best. Whether you’re laying down your first track or prepping an album, expert mixing and mastering can make all the difference. These advanced audio mixing techniques will help you craft a sound that’s powerful, clear, and professional.
Don’t settle for less. Take control of your sound. Experiment with these tips, and when you’re ready, reach out for professional mixing and mastering services to give your music that final, unbeatable polish.
Your next hit is just a mix away. Let’s make it happen!


Comments